Recording a Live Band in a Home Studio — A Real 9-Piece Session
Jun 12, 2026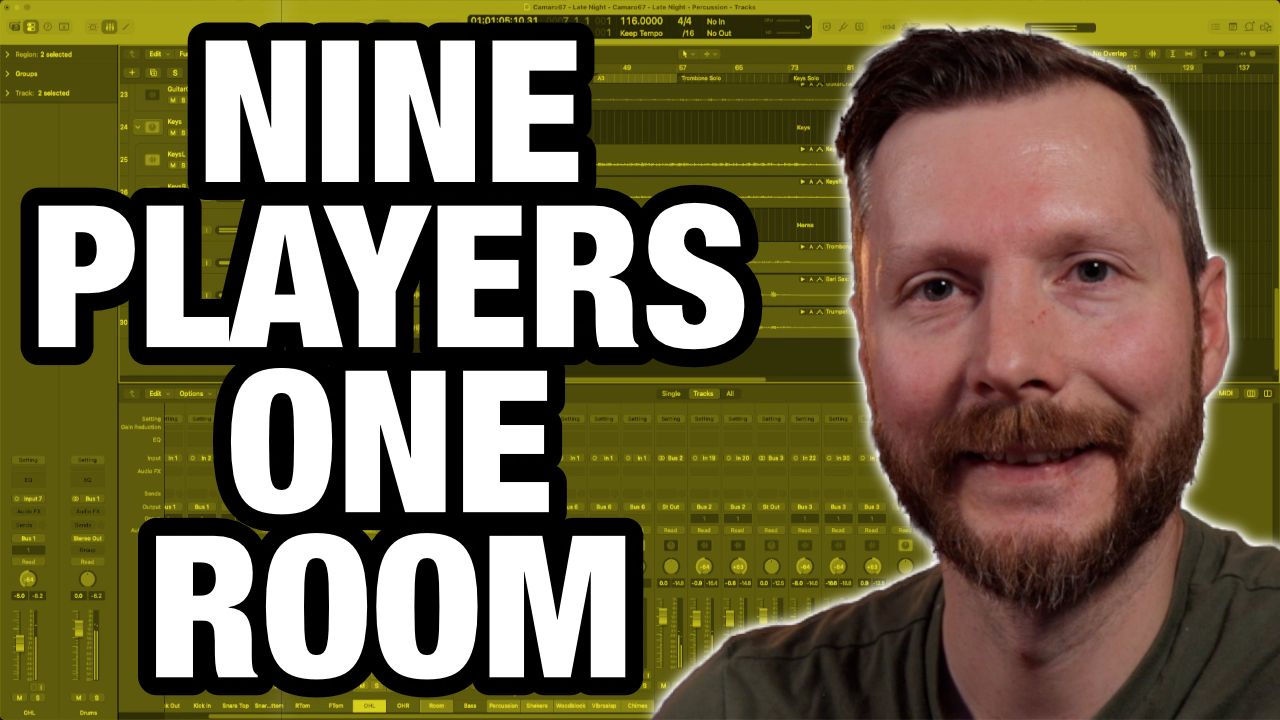
How to Record a Live Band in a Home Studio — A Real 9-Piece Session
One of the questions I get asked fairly often is whether it's actually possible to record a full band in a home studio. The short answer is yes — and in this video I'll show you exactly how we did it with my nine-piece band, Camaro 67, using gear that most home studio owners either already have or can get without spending a fortune.
This is part of an ongoing series documenting the making of a real recording from start to finish. In my previous video I covered the editing process and how I organized the session in Logic Pro. This one goes back to the beginning and walks through how the recording itself was set up — inputs, microphones, monitoring, and all the planning that went into making a 22-input session work in a single room.
Start With an Input List
When you're dealing with a large number of inputs, the single most useful thing you can do before the session is create an input list. This is simply a document that maps out every instrument you're recording, which microphone you're using on each one, which input it's plugged into, and whether any external preamps are involved.
For this session we had drums, room mic, bass, congas, percussion, two guitars, keyboards, and three horns — coming out to 22 inputs in total. Having all of that mapped out ahead of time meant that on the day of the session, we weren't scrambling to figure out what was plugged in where. Everyone just followed the list.
If you're planning a session with more than a handful of inputs, I'd strongly recommend doing this regardless of the size of your band. Even six or eight inputs can get confusing in the moment. A simple spreadsheet is all you need.
How to Get 22 Inputs From Home Studio Gear
Getting 22 inputs from a home studio setup isn't as complicated as it sounds, but it does require a bit of creative thinking. For this session I used three audio interfaces working together, each with eight preamps built in.
My main interface is a MOTU 896, connected via USB. The second unit is a MOTU 8Pre, and the third is an M-Audio ProFire 2626. The key to making all three work together is ADAT — a digital connection that lets you send eight channels of audio from one interface to another. The 8Pre and the ProFire both output their eight channels digitally via ADAT into the MOTU 896, which acts as the master interface that Logic Pro sees.
One thing worth knowing: I'm using two older FireWire interfaces as ADAT expanders rather than standalone interfaces. They're no longer supported as primary interfaces in the latest versions of macOS, but they still work perfectly as ADAT sources. So if you have an older FireWire interface gathering dust, it may still have a useful life as an expander for a newer interface — as long as both have ADAT connections.
Microphone Choices for a Live Room Recording
When everyone is playing together in one room, bleed between microphones is the main thing you're managing. Bleed is simply the sound of one instrument bleeding into the microphone of another — and while some amount of it is unavoidable and even desirable for a live feel, too much of it can make things harder to mix later.
The main reason I leaned heavily on dynamic microphones for this session is that dynamics have a tighter pickup pattern than condensers and reject more of the sound coming from the sides and rear. If you put a room full of condensers around a nine-piece band, you'll end up with every instrument in every microphone. Dynamics help keep things a bit more focused.
Here's a quick rundown of what we used and why:
Kick drum: Two microphones — a Shure Beta 52 positioned near the sound hole for body and warmth, and a Beta 91A placed inside the drum for attack and punch. Blending the two gives you a lot of control over the final kick sound in the mix.
Snare: Two Shure SM57s, one on top and one underneath. The top mic captures the main body of the snare sound, and the bottom mic picks up the snare wires for brightness and crack. Again, blending both gives you more flexibility when mixing.
Toms: A mix of SM57s and Shure PG-56s, which are a more affordable dynamic mic in a similar vein to the 57.
Overheads: A pair of Rode NT5 small condenser microphones to capture the cymbals and hi-hat. Since the overheads are up and away from the louder instruments, condensers work well here without picking up too much bleed.
Room mic: A single Rode NT2A microphone placed in the room to capture the overall sound of the band playing together. On its own it sounds rough and unpolished — but blended in with the close microphones during mixing, it adds energy and grit that's hard to achieve any other way.
Bass: Direct input only, no amp. This keeps the bass completely clean and free of bleed, which makes it straightforward to work with in the mix.
Guitars: One guitar was recorded both direct and through an amplifier with a dynamic mic, giving us two signals to choose from or blend together. The second guitar was just a dynamic mic on the amp.
Keys: Also direct input, so again no bleed to manage.
Horns: Trombone, baritone sax, and trumpet, each recorded with a Shure SM7B or MV7 broadcast microphone. We knew going in that we'd likely be overdubbing the horns at a later session, since they carry the main melody and we wanted to make sure those parts were as tight as possible.
The most expensive microphones on this list are the Rode NT2A and the Shure SM7B, both in the $400 to $500 range. Everything else is well under $200. You don't need a high-end microphone collection to get a good result — you need the right tools used in the right way.
External Preamps and How to Distribute Them
I had five external preamps available for this session, which are higher quality than the built-in preamps on my audio interfaces. The question was where to use them for the most benefit.
I ended up putting them on the kick drum, the bass, and the horns. In retrospect, knowing that we were going to overdub the horns later, I would have redistributed those preamps elsewhere — perhaps onto the snare, overheads, or guitars — since the horn tracks would be replaced anyway. It's a small thing, but worth planning for if you know overdubs are part of the process.
Monitoring — Why We Skipped the Headphones
With nine players in one room and only the standard headphone outputs on my audio interfaces, providing everyone with a headphone mix wasn't practical without adding a dedicated headphone amp. Rather than complicate the setup, we decided to treat the session the way you'd treat a rehearsal — everyone listening to each other acoustically in the room.
Our drummer did have a click track in his headphones to keep tempo consistent across takes, but the rest of us were just listening to the amps and the acoustic sound of the horns. It kept the energy relaxed and natural, which suited the music.
If you were recording in separate rooms or needed more isolation, headphones would be essential. But for a band that plays together regularly and knows the material well, recording in a shared room without headphones is a completely valid approach.
How the Individual Tracks Turned Out
In the video I play back each section of the session so you can hear what everything sounds like raw and unmixed. The kick drum blends nicely between the two microphones, the snare has good presence on both top and bottom, and the guitars came out clean despite everyone playing in the same room. The horns have some bleed from the rest of the band, which is expected, but it's manageable — and since we're overdubbing them anyway, it won't be an issue.
The room mic sounds exactly as you'd expect at this stage: raw and ambient. But as I mention in the video, that's intentional. Over-compressed and pushed into the mix, it adds a kind of energy and grit to the drums that you just can't replicate with close microphones alone.
What's Next in the Series
The next step for this project is overdubbing the horn parts, and then we'll move into mixing. I'll be documenting both of those sessions as part of this series, so if you want to follow the whole process from a live room recording through to a finished, mastered track, keep an eye out for those videos.
Microphones Used:
Shure Sm7b: sweetwater.sjv.io/jRnPgb
Shure MV7+: sweetwater.sjv.io/YVqOGK
Shure Sm57: sweetwater.sjv.io/KBOO5a
Shure Beta 52A: sweetwater.sjv.io/JkOONQ
Shure Beta 91A: sweetwater.sjv.io/6knnNN
Rode NT2A: sweetwater.sjv.io/QYNBL9
Rode NT5: sweetwater.sjv.io/GbOO9E
TIMECODES:
00:00 Introduction
00:30 Overview of the Session and Track Count
00:58 Creating an Input List
01:57 Using Three Audio Interfaces With ADAT
03:48 Microphone Choices and Why Dynamic Mics
08:31 Monitoring — Why We Skipped the Headphones
09:21 Listening Back to the Raw Tracks
17:55 What's Next in the Series