Mixing Percussion in Logic Pro: Shekere, Congas and More
Oct 16, 2026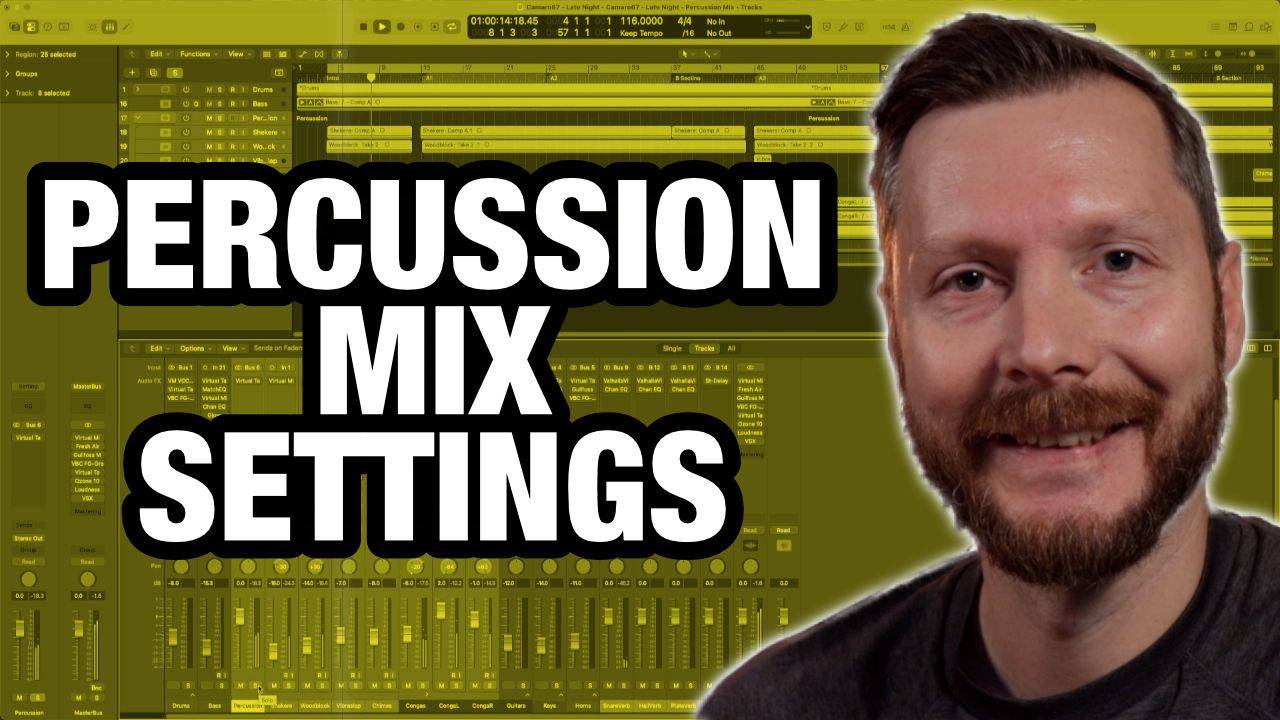
Mixing The Last Instrument Group In The Session
This is the next step in the Camaro 67 Late Night series, where we follow one song from recording all the way through mixing to a finished master. So far in this session, the drums, bass, guitars, keys and horns have all been mixed, which leaves one group: the percussion. This session has a shekere (a large gourd wrapped in beads), a wood block, a vibraslap, chimes and a pair of congas. The congas were recorded live with the rest of the band, and the other percussion was overdubbed afterward.
Percussion is easy to ignore because the parts are small, but it is also where a mix gets its sparkle and sense of space. Here is exactly how each piece was handled, so you can borrow the approach for your own sessions.
Start By Routing Everything Into Track Stacks
Before touching any plugins, all of the auxiliary percussion is routed into a single track stack. That gives you two things at once: one fader for the overall level of all that percussion, and a place to put a little processing on the group as a whole instead of repeating it on every track.
The congas get their own track stack too. They were recorded as a left drum and a right drum, and instead of keeping them as one stereo track, they are split into two mono tracks. That matters because the two drums are tuned differently, so each one needs its own EQ. The track stack then lets you pan the pair as if it were a single stereo instrument and add shared processing on top.
Shekere
The shekere sits high in the frequency range, so the processing is simple. A compressor catches the louder peaks, with about 1 dB of gain reduction and a bit more in some spots, just enough to make the shaking sound even. On the EQ, a high pass filter removes the low end, since there is nothing useful down there for a shaker, and a couple of small boosts in the high end add clarity and brightness.
For space, it sends to the snare reverb on bus 9, a smooth plate set to about 1.16 seconds. Compared to the dry track, it comes out brighter and gets a little room around it without sounding washed out.
Wood Block
The wood block follows almost the same recipe with a few differences. The compression is a little heavier, anywhere from 1 to 3 dB of gain reduction, to even out hits that land louder than others. A high pass filter clears out low end that is not there to begin with, then a few high frequency boosts and a little shimmer from the Revival plugin add clarity.
Wood block does not need much help cutting through a mix, but this EQ moves it out of the muddy zone and above everything else, and the same bus 9 reverb ties it into the room.
Vibraslap
The vibraslap only happens a couple of times in the song, so it gets a lighter touch: a little compression, the same kind of high pass filter, and one small boost to bring out its character. It already sounded good on its own, so the main addition is more reverb. A longer hall reverb on bus 12 (4 seconds) and the smooth plate on bus 13 (about 1.8 seconds) let its tail linger longer at the end of each hit.
Chimes
The chimes also happen just once in the song. Compression is minimal, and the EQ is a good example of choosing the right tool. The chimes only live in the very high end, so the high pass filter needs to be set much higher than for the other percussion. The SSL style and Neve style EQs have high pass filters that stop well short of where this one needed to go, so this track uses the stock Logic Channel EQ instead, which can reach high enough to roll off everything below the chimes.
For space, the chimes use the same two long reverbs as the vibraslap, plus the stereo delay on bus 14, so the sound hangs in the air a little longer.
Glue The Auxiliary Percussion With A Tape Machine
Instead of putting a tape machine plugin on every individual percussion track, one instance of the Slate Digital Virtual Tape Machine sits on the auxiliary percussion track stack. Everything runs through it together, which adds a little warmth to the whole group and keeps the session simple.
Congas: Treat Each Drum Independently First
Because the congas were recorded live with the band, you can hear some drum bleed in the background when they are soloed. That is normal, and it is one reason the EQ matters. The high pass filter on the congas sits much lower than on the other percussion, since the drums have real low end that you want to keep. It is just high enough to filter out some of the kick and bass leaking in from the room without thinning out the drums themselves, and it is set a little differently on each side.
The left conga gets compression of 1 to 3 dB, a couple of boosts, a high shelf, and a touch of shimmer to brighten it up. The right conga gets a bit more compression, closer to 3 dB, with a similar EQ approach. Treating them separately is what lets each drum sound its best.
Both tracks then go to the conga track stack, where the snare reverb on bus 9 adds space, the Slate Digital Virtual Tape Machine adds warmth, and a little more than 1 dB of compression blends the two drums together. Since each drum is already compressed on its own, the shared compressor does not need to do much.
What To Take Away From This Session
A few habits repeat across every instrument here. Compress lightly to even out hits. Use a high pass filter set to match each instrument, not just a default setting. Add clarity with small high end boosts rather than big ones. Then use reverb and delay to give each instrument its own space in the mix. The real difference between the dry and processed versions is that the processed percussion sounds livelier and more finished, without ever drawing attention to itself.
With the percussion mixed, the instrument by instrument mix is done. The next step in this series is final automation, going through the song to catch any spots where the volume or other settings need tweaking, and then on to mastering.
This video features Late Night by Camaro 67
http://www.camaro67music.com/
TIMECODES:
00:00 Intro
00:33 Percussion Overview and Session Setup
01:04 Before and After: Full Percussion Mix
02:26 Routing Percussion Into Track Stacks
03:12 Shekere Processing
04:43 Wood Block Processing
06:15 Vibraslap Processing
07:30 Chimes Processing
08:44 Tape Machine on the Percussion Track Stack
09:04 Mixing the Congas
10:56 Conga Track Stack: Reverb, Tape and Compression
12:11 Final Before and After
12:38 Next Up: Automation and Mastering