How to Mix Your First Song in Logic Pro
Jul 24, 2025
In this final part of our GarageBand to Logic Pro series, we're diving into mixing the track we recorded in the last video. If you're new to mixing or you've just moved from GarageBand to Logic Pro, this post will walk you through each essential step clearly and practically.
Getting Started: The Logic Pro Mixer Page
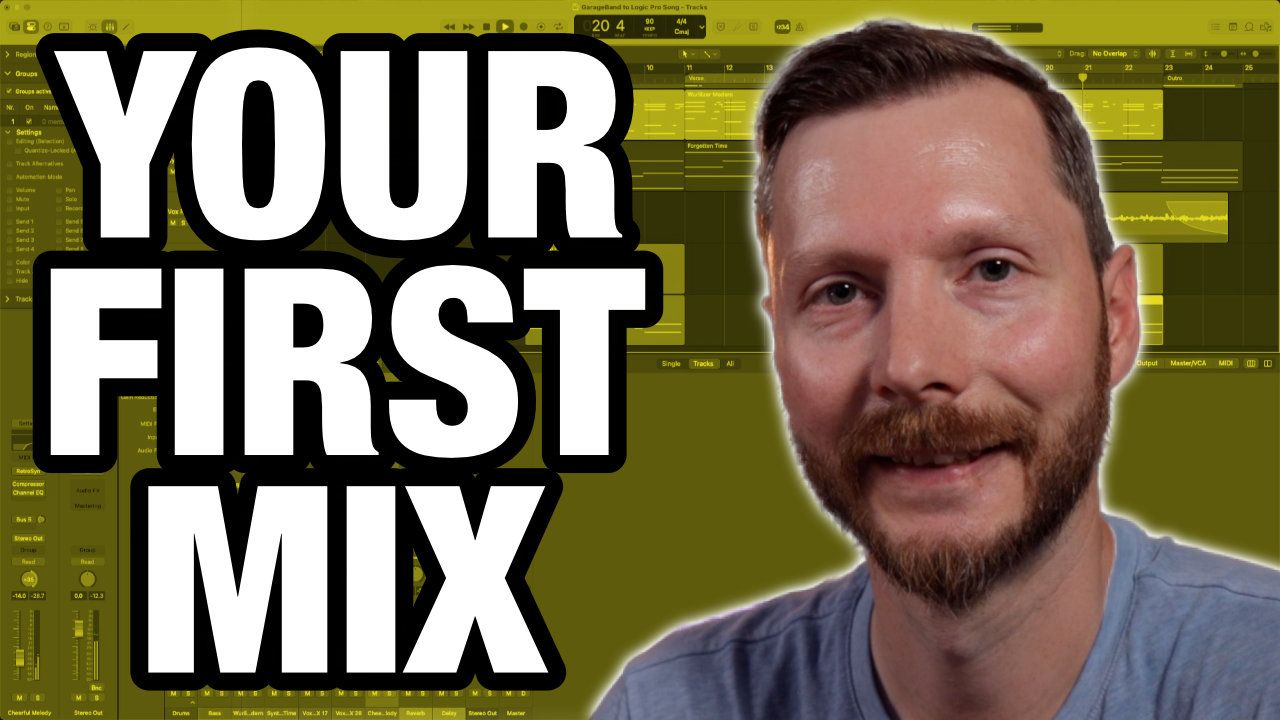
One of the biggest upgrades you get moving from GarageBand to Logic Pro is the dedicated Mixer page. It’s a complete overview of your project, showing all plugins, effects, and volume controls at a glance. To open the mixer, simply press the letter X on your keyboard.
From the mixer page, you have quick access to plugins, sends, outputs, and track stacks. This is something GarageBand doesn't fully provide. Track stacks are great for grouping instruments together, like drums, letting you control their volume and effects all in one place.
Setting Levels: Starting Your Mix
Before mixing, it’s important to reset your volume faders to zero. Starting fresh helps prevent issues like clipping. I typically start mixing drums first, setting a solid rhythmic foundation, and then add in bass, rhythm instruments, pads, and vocals in that order. There's no one-size-fits-all approach; find a workflow that suits you.
When setting initial volumes, it's best to keep them conservative. Around -9 dB for drums, to leave plenty of headroom as you add other tracks. Turning up your headphones or monitors can help you hear clearly without pushing your faders too high.
Refining Your Drum Sound
Using Logic Pro’s built-in sends, I added some reverb to the snare drum to create a natural sense of space. I also adjusted the drum compression using Logic Pro’s Compressor plugin. Compressors even out volume differences, helping your drums sound cohesive and polished.
Getting the Bass Right
When mixing bass, I started by fine-tuning the velocities of the MIDI notes for consistency. I then added gentle compression using Logic’s Jazz Bass preset. This ensures each bass note feels consistent without losing dynamic interest.
Shaping Keyboards and Pads
I applied some compression and subtle EQ to our keyboard sounds to remove muddiness and highlight the best frequencies. I used Logic Pro’s new Quant Room Simulator to add tasteful reverb, creating depth and atmosphere without overpowering the mix.
Adding Delay and Vocal Treatments
Delay can add interest to vocals and melodic instruments. Using Logic Pro's Stereo Delay plugin, I set different rhythms for left and right delays to create engaging, subtle echoes. Combined with reverb and EQ adjustments, this helps your vocals fit smoothly in your mix.
Panning and Stereo Placement
Effective panning gives each instrument its own space. I demonstrated using Logic Pro’s stereo pan feature, placing some instruments slightly left and right, adding width and clarity to the overall soundstage.
Enhancing Your Tracks with Automation
Automation is key to creating dynamic mixes that keep listeners engaged. For instance, I automated the keyboard's volume in the verse to bring out its melodic detail. I also showed how to create fades on the master track to ensure a smooth finish to your song.
Simple Mastering in Logic Pro
Finally, I introduced Logic Pro’s Mastering Assistant plugin, a straightforward way to polish your finished track. It automatically adjusts loudness, EQ, and width based on your song. This makes your track ready for sharing, whether on streaming platforms or as an MP3 to share with friends.
Exporting Your Finished Song
When you're satisfied, it’s easy to export (or "bounce") your finished track. Logic Pro allows you to export as both high-quality uncompressed audio and MP3 simultaneously, perfect for streaming or sharing via email.
Final Thoughts
Mixing doesn't have to be intimidating. Focus on foundational tools: EQ, compression, reverb, and delay. As you grow more comfortable, experiment further, but keep your mixes clear and musical. Happy mixing!


