How to Mix Horns in Logic Pro — A Real Session Walkthrough
Aug 28, 2026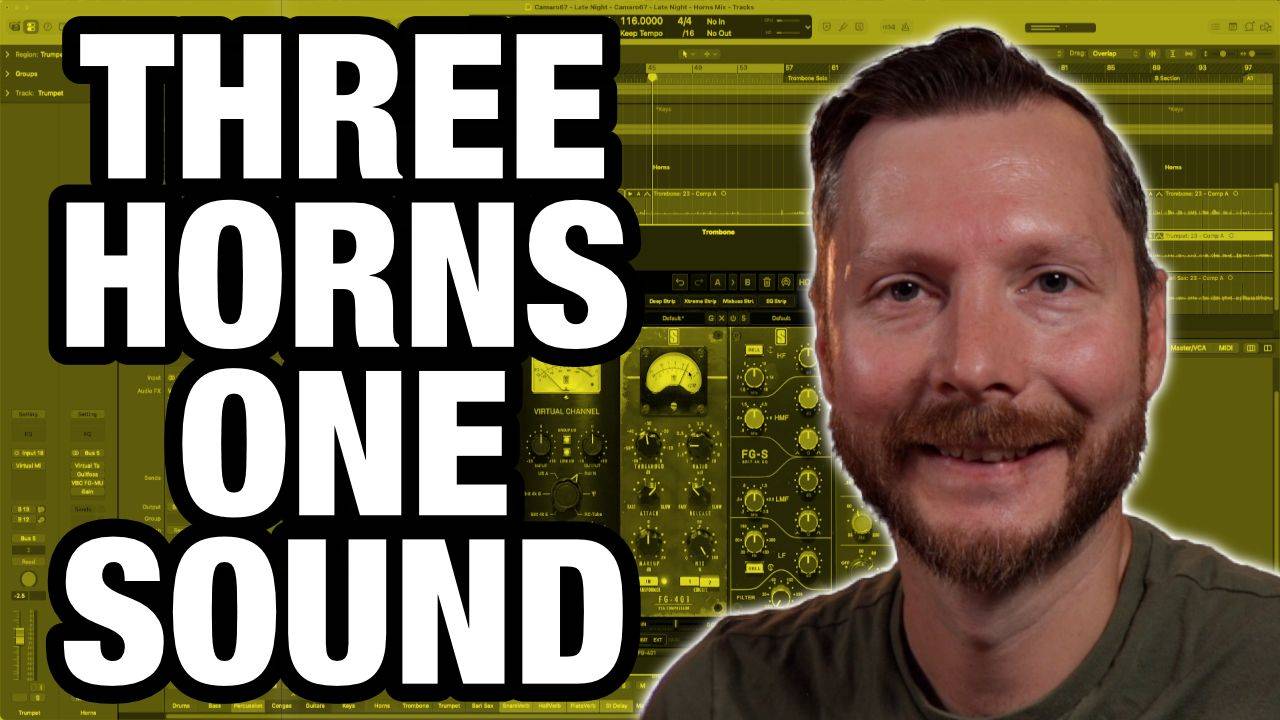
How to Mix Horns in Logic Pro — A Real Session Walkthrough
We're continuing our series following the recording and mixing of Late Night by Camaro 67, and this time the focus is on horns: trumpet, trombone, and baritone sax. If you've been following along, we've already mixed drums, bass, and guitars, so this post picks up right where that left off. Keys, congas, and additional percussion are still to come in the following weeks.
Before getting into the specifics, it's worth hearing the transformation. With everything unprocessed, the horns sound thin and disconnected from each other. With the full chain applied, compression to gel the three horns together, EQ to shape and clean up each one, and reverb to add space and depth, they sit as a cohesive section rather than three separate instruments competing for attention.
How the Horns Were Recorded
These horn parts were originally tracked live off the floor along with the rest of the nine-piece band. Later, a dedicated session was set up with just the horns, allowing more time to get strong takes without the pressure of a full band session. Multiple takes were recorded for each section and the strongest ones selected, visible in the session as several comps per horn part.
One workflow note worth mentioning: the take folders haven't been flattened yet at this stage. I usually prefer getting any edits out of the way before diving fully into mixing, but since there hadn't been time yet to review every individual take closely, they were left open for now. If anything needs adjusting during mixing, it's still possible to go back into the take folders and pull a different section. Flattening and cleaning up any dead space will happens later, closer to the final mix.
Treating Horns Individually and as a Section
Horns need to be approached two ways at once: as individual instruments with their own character, and as a unified section that needs to sound cohesive. To manage this, all three horn tracks are routed to a track stack, created by selecting the three tracks, right-clicking, and choosing Create Track Stack. This gives one place to apply group-level processing later, while still allowing each horn to be shaped individually first.
Processing the Baritone Sax
Starting with the baritone sax, a virtual mix rack was loaded, a plugin that bundles several tools like console emulation, compression, and EQ into one interface. As with previous instruments in this series, everything was muted to start, including the reverb, so each stage could be heard in isolation.
Console Emulation and Compression
The virtual console channel was set to a Neve-style emulation, which subtly adds body to the sound. This is a consistent choice throughout the series. Compression was set to catch peaks around 3 dB of gain reduction, helping the loudest notes sit more evenly with the rest of the performance. Makeup gain was left at zero rather than compensating for the volume drop from compression, since overall levels get addressed later when blending everything together.
EQ
Of the two EQ modules available in the mix rack, the SSL-style EQ wasn't needed for the baritone sax and could be removed from the chain entirely, since every control sat at zero. The Neve-style EQ did the real work: a high shelf boost of 1.59 dB for presence, a boost around 1.4 kHz, another boost at 381 Hz to preserve the baritone sax's naturally rich low end, and a low cut at 100 Hz to remove anything below what the instrument actually needs. This combination brightens the top end while protecting the low-end character that makes a baritone sax distinctive, rather than thinning it out.
A revival plugin was also added, with a simple shimmer and thickness control. A touch of thickness was used here specifically to reinforce that same low end.
For anyone without access to these exact plugins, the same result is achievable with Logic Pro's own Compressor set to roughly the same 3 dB gain reduction target, and Logic Pro's Channel EQ using similar moves: a cut around 100 Hz, a boost around 340 Hz, and a gentle high shelf.
Adding Reverb
Following the same approach used for guitars earlier in this series, two reverbs were used together: a plate reverb with a shorter decay around 1.8 seconds as the primary, more present reverb, and a longer hall reverb around 4 seconds to add a subtler, lingering trail in the background. Any reverb plugin works here, including Logic Pro's own Space Designer, which includes hall presets in a similar length range if you're looking to match this timing.
An EQ was placed after each reverb to filter out both the low end and high end of the reverb signal itself. This serves two purposes: it allows the reverb to be pushed a bit harder in the mix without harshness building up in the high end, and it filters out any bleed, like cymbals or hi-hats, that made its way into the horn recordings and would otherwise become more noticeable once reverb is added.
Unlike vocals, which often get a stereo delay in addition to reverb, the horns were kept without delay to preserve a more natural, acoustic character.
Processing the Trumpet and Trombone
The trumpet and trombone followed the same overall approach as the baritone sax, compression around the same 3 dB range and a similar EQ structure, with the specific EQ settings adjusted for each instrument's register.
The trumpet, sitting in a higher register with no need for low-end content, received a more aggressive low cut at 122 Hz rather than the 100 Hz used on the baritone sax, since there's no risk of removing anything the instrument actually needs. A boost was added at 862 Hz and another at 2.1 kHz, along with a high shelf. The revival plugin was used here too, but with only shimmer applied and no thickness, since the trumpet doesn't need reinforcement in the low end the way the baritone sax does.
The trombone also used the same 3 dB compression target, which proved particularly useful given how loud some of the trombone's notes could get relative to the rest of the performance. As with the other two horns, the unused SSL EQ was removed from the chain. EQ-wise, the trombone was treated more like the baritone sax, with a low cut at 100 Hz, plus boosts at 850 Hz and 4.26 kHz, along with the same high shelf treatment.
Balancing the Horn Section
With all three horns individually processed and sounding good on their own, the next step was balancing them as a group. As with previous instruments in this series, this started by bringing all three faders down and slowly bringing each one back up until a natural balance was found between them.
Processing the Horn Group
With the individual balance set, a few additional processors were applied to the horn group as a whole, on the track stack itself rather than on any individual horn.
A virtual tape machine added a subtle sense of warmth and life to the group. The effect is hard to describe precisely, but the difference between it being on and off was clear enough to keep it engaged.
An automated EQ plugin was also used at the group level, working on a Recover and Tame system: it automatically brings up frequencies it detects as buried and pulls down frequencies it detects as overbearing. This was set to bypass anything below 121 Hz, leaving the low end untouched while letting the plugin handle balance in the rest of the frequency range. The effect helps each horn find its own space within the section without any one instrument jumping out unexpectedly.
Finally, a light compressor was applied across the whole group, targeting around 1 dB of additional gain reduction. Since each horn already had its own compression individually, this final stage is about gluing the section together as a whole rather than controlling any single performance. This particular compressor also added a subtle brightening effect as a side benefit.
Blending With the Full Mix
With the horn group fully processed, the final step was bringing it into the mix alongside drums, bass, and guitars, which have already been covered earlier in this series. A few small volume adjustments were made on the individual horn tracks once everything was playing together, the same practice of checking decisions in context rather than relying purely on how things sound in isolation that's been a consistent theme throughout this series.
What's Next
With horns now mixed and sitting well in the track, keys, congas, and additional percussion are still to come in the following weeks before this song is fully mixed. If you've been following along, make sure you're subscribed so you can see the whole process through.
If you have any questions about anything covered here, drop them in the comments.
This video features Late Night by Camaro 67
http://www.camaro67music.com/
TIMECODES:
00:00 Introduction
00:40 Before and After Preview
02:35 Catching Up on the Series So Far
04:16 Individual vs. Group Processing
04:55 Processing the Baritone Sax
09:41 Adding Reverb
12:23 Processing the Trumpet
13:29 Processing the Trombone
14:18 Balancing the Horn Section
15:48 Group Processing — Tape, EQ, and Glue Compression
18:58 Blending With the Full Mix
20:14 Recap and What's Next