How to Mix Electric Guitars in Logic Pro — Real Session
Aug 14, 2026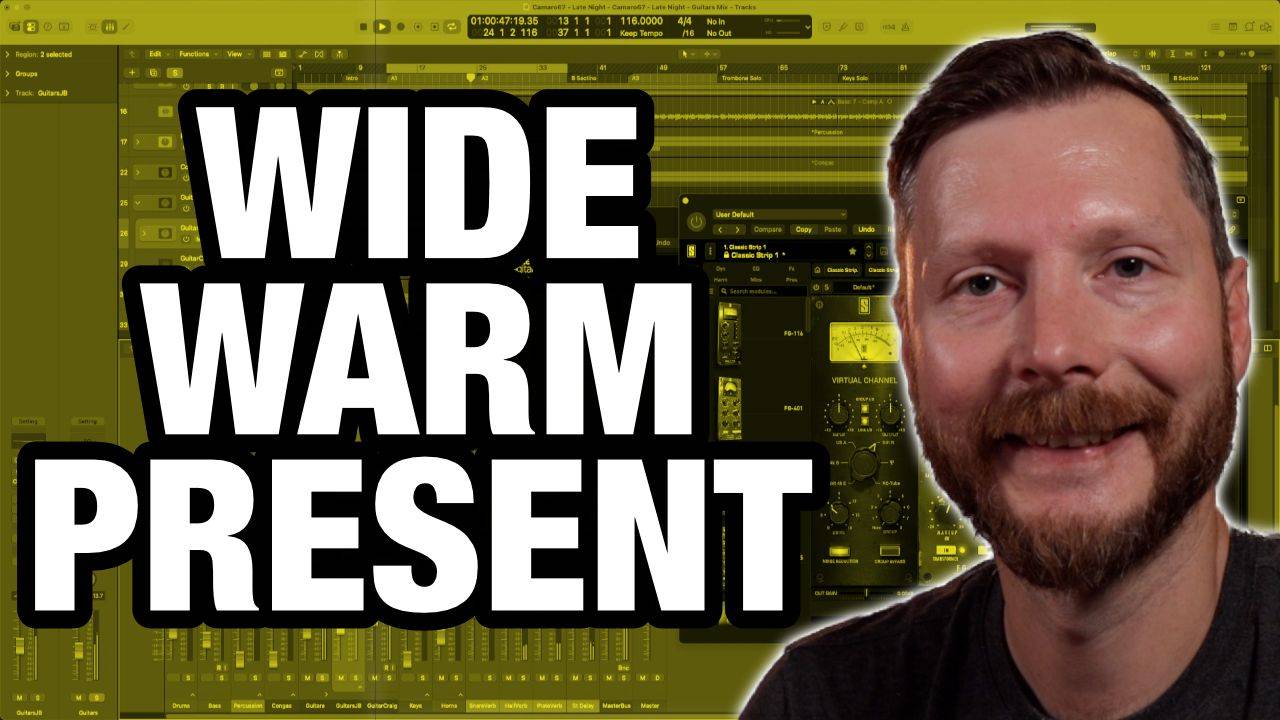
How to Mix Electric Guitars in Logic Pro — A Real Session Walkthrough
We're continuing our series following the recording and mixing of Late Night by Camaro 67, and this time the focus is on electric guitars. Two guitar players, Jimmy and Craig, both contributed parts to this song, and in this post I'll walk through exactly how I approached mixing both of them using nothing more than basic, widely available plugins.
Before getting into the details, it's worth hearing the difference processing makes. With everything bypassed, the guitars sound flat and a little disconnected from the rest of the track. With the full chain applied, they sit with much more presence, space, and clarity, especially once blended in with the drums and bass. That transformation is what this post covers step by step.
Blending Two Signal Sources for One Guitar
Jimmy's guitar was recorded two different ways at the same time. The first was a direct signal taken from his pedalboard, before the amp, giving a clean, isolated signal with no bleed from the rest of the room. The second was a microphone on his amp itself, which naturally picked up some bleed from the drums and other instruments in the room.
The first step was combining these two sources into a single track stack, giving one place to work with both signals together rather than juggling two separate tracks. From there, it was a matter of finding the right blend between the two: starting with the direct signal as the foundation since it's clean and easy to shape, then bringing in the amp signal underneath to add body and character. Once that blend felt right, the two source tracks could be minimized and left alone, working from the combined result going forward.
Building the Processing Chain
With a blended guitar signal to work with, the next step was loading a virtual mix rack, a modular plugin that bundles several tools like console emulation, compression, and EQ into a single interface. Starting with everything muted and bringing each module in one at a time makes it much easier to hear exactly what each stage is contributing.
Console Emulation
The first module is a virtual channel that emulates the sound of an analog mixing console. For this guitar, a Neve-style emulation was used, which adds a warmth and body that suits the tone well.
Compression
Next comes compression, set to around 3 dB of gain reduction using the threshold control. This helps glue the performance together, keeping strums and hits consistent rather than letting louder moments jump out unpredictably.
EQ
The mix rack includes two EQ modules, an SSL-style and a Neve-style. For this guitar, the SSL EQ wasn't needed at all and could effectively be removed from the chain, since every control sat neutral. The Neve EQ, however, did real work. The general approach here follows a two-step process worth understanding: using Logic Pro's own Channel EQ to scan across the frequency range and identify problem areas or pleasing boosts, then applying the actual cuts and boosts using the Neve EQ, since it tends to sound smoother and more musical, particularly when boosting.
For this guitar specifically, small cuts of around 1.2 dB were made at both 250 Hz and 900 Hz to clean up some muddiness, along with a boost of 1.7 dB at 3000 Hz and a gentle high shelf to add presence. A high pass filter was also applied, removing everything below 150 Hz. This last move matters more than it might seem: it filters out any low-frequency bleed from the kick drum or bass that made its way into the guitar recording, keeping the low end clean and reserved for the instruments that actually need it. The combined effect of these EQ moves is a guitar that sounds noticeably clearer and more present, without anything drastic happening to the tone.
Creating Space With Reverb and Delay
Once the tone was shaped, the next stage was adding a sense of space using sends to two different reverbs and a stereo delay.
Hall Reverb
The first reverb used a hall setting with a fairly long decay of just over 4 seconds and roughly 60 milliseconds of pre-delay. This acts as a longer, more ambient trail that lingers in the background rather than being an obvious, upfront effect. An EQ was placed on this reverb return as well, using a high pass and low pass filter to keep unwanted bleed, particularly low end and cymbal frequencies from the drums, out of the reverb signal.
One detail worth understanding here: sends are set to Post Pan by default, meaning the reverb will follow the panning of the source track. Since these guitars are panned hard left and right, that would normally mean the reverb follows the same hard panning. Switching the send to Post Fader instead ignores the track's panning, letting the dry guitar sit hard left or right while its reverb spreads across both sides. This creates a noticeably wider, more spacious sound than if the reverb strictly followed the panning of the dry signal.
Plate Reverb
A second reverb, using a plate setting with a much shorter decay of 1.8 seconds and a shorter pre-delay, acts as the more immediate, primary reverb, while the longer hall reverb sits further back as a secondary layer. This same EQ approach, filtering unwanted bleed, was applied here as well.
Stereo Delay
The final spatial effect is a stereo delay, which allows independent settings for the left and right channels. In this case, the left side was set to eighth notes and the right side to quarter notes, creating a slightly asymmetrical, more interesting rhythmic effect rather than a simple repeating echo. A low cut at 270 Hz and a high cut at 500 Hz were applied directly within the delay plugin, meaning only a narrow band of frequencies actually gets repeated, keeping the delay from becoming muddy or harsh. Feedback was kept relatively low at 15%, controlling how many repeats occur, and a 30% cross-feed setting let repeats from the left side bleed subtly into the right, and vice versa, adding to the overall sense of width.
Together, these three effects transform a fairly dry, upfront guitar signal into something with real depth and space, without ever feeling washed out or distant.
Applying the Same Process to the Second Guitar
Craig's guitar went through a similar process using the same virtual mix rack setup, though the specific settings differed to suit his tone. Compression was set slightly lower initially, in the 1 to 3 dB range, with room to push closer to the same 3 dB target used on the first guitar. As with the first guitar, one of the two EQ modules wasn't needed and could be removed from the chain.
The EQ moves here addressed a different issue: this guitar was missing some body, so small boosts were added at 1.48 kHz and 650 Hz to bring that back, along with a gentle high shelf. The same low cut at 150 Hz was applied, along with an additional cut around 180 Hz in the Logic EQ to further clean up any muddiness. The same reverb and delay sends used on the first guitar were applied here as well, but with panning set hard right instead of hard left, creating a clear stereo spread between the two guitars.
Bringing Both Guitars Together
With both guitars individually processed, they were grouped into their own track stack, separate from the individual processing already applied to each. On this combined stack, a virtual tape machine was added for some subtle overall warmth, along with a second mix rack used primarily for a touch of glue compression, around 1 dB, bringing the two guitars together as a cohesive pair rather than two entirely separate elements.
Balancing the volume between the two guitars followed the same approach used throughout this process: bring one track down, then slowly bring it back up until the blend feels right. Once everything was blended into the full mix alongside drums and bass, some further small adjustments were made, ultimately bringing up Craig's guitar slightly more than the initial balance suggested.
A Note on Soloing While You Mix
It's worth mentioning a habit that matters as much as any individual plugin setting: while it's genuinely useful to solo instruments while dialing in EQ and compression, since it lets you hear exactly what's happening without distraction, every decision ultimately needs to be checked against the full mix. A move that sounds great in isolation doesn't always serve the song once everything else is playing. Getting into the habit of regularly soloing and then immediately referencing back against the full track helps make sure every processing decision is actually contributing to the final result, not just sounding good on its own.
What's Next in the Series
With the guitars now mixed and sitting well alongside the drums and bass, the Late Night mix continues to take shape. If you've been following along with this series, make sure to subscribe so you can see the process through to a finished, mastered track.
This video features Late Night by Camaro 67
http://www.camaro67music.com/
TIMECODES:
00:00 Intro
00:35 What does a mixed vs unmixed guitar sound like?
01:44 How do I blend a direct signal with a mic'd amp signal?
04:55 Adding compression
05:35 How do I EQ electric guitar in Logic Pro?
08:08 Adding space with two reverbs
11:27 Dialling in the stereo delay
12:57 Repeating the process on the second guitar
15:00 Combining both guitars and gluing the mix together
17:23 Final Thoughts