How to Mix Bass in Logic Pro — A Real Session Walkthrough
Jul 24, 2026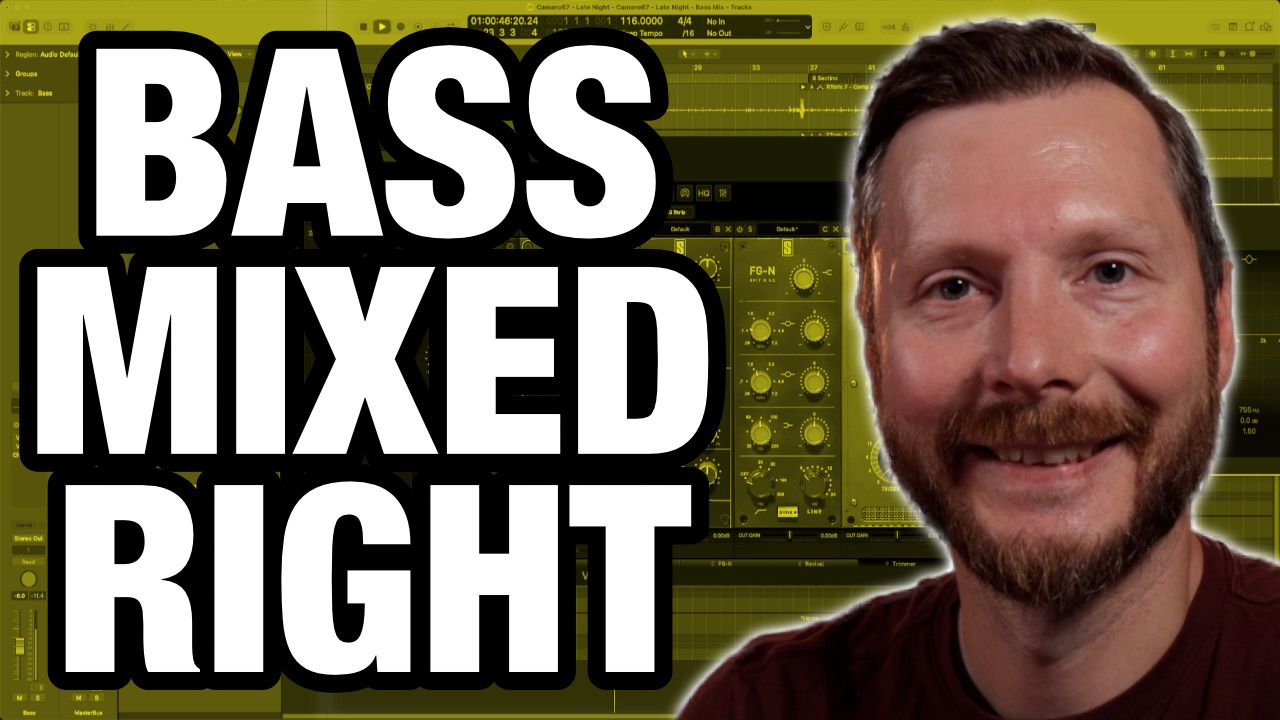
How to Mix Bass in Logic Pro — A Real Session Walkthrough
Mixing bass is one of those things that can feel deceptively simple — it's one instrument, often just one track — and yet getting it right makes an enormous difference to how the whole mix feels. When the bass sits well, everything else seems to lock into place. When it doesn't, the mix can feel muddy, thin, or just slightly off in a way that's hard to put your finger on.
In this video, part of our ongoing series following the recording and mixing of Late Night by Camaro 67, we're focusing entirely on the bass. The bass on this track was performed by Jim Bennett, and was recorded direct using a DI box — no amp, no bleed, totally isolated. That makes it a very clean starting point and a great example for walking through the mixing process step by step.
Should You Use Bass Amp Designer?
Before getting into the processing chain, it's worth knowing that Logic Pro has a built-in Bass Amp Designer plugin that gives you access to several different virtual amp models — a modern amp, a classic amp, a flip top, and a direct box. Each one has its own character, and you can mix and match the amp head with different cabinet options, change the microphone type, and adjust the mic position.
Bass Amp Designer is genuinely useful when you're not happy with the sound you recorded and want to make a significant change to the tone. It also has EQ and compression built right in, which can make it a convenient one-stop option. That said, for this track the DI sound was already sitting well, so after running through a few presets — including a 70s Solid preset that was a strong contender — the decision was to remove the plugin and work with the clean DI signal instead.
The takeaway here is worth remembering: trying something and deciding not to use it is part of the process. You're not wasting time by exploring — you're making an informed decision.
Step 1 — Slate Digital Virtual Tape Machine
The first plugin in the chain is the Slate Digital Virtual Tape Machine. This is a plugin that emulates the sound of recording to analog tape, adding a subtle warmth and body to whatever it's applied to. It's not a dramatic effect — bypassing it, things sound a little flatter and more clinical. With it on, there's just a bit more life to the signal.
The settings used here are fairly straightforward: machine type set to 2-inch (as opposed to half-inch, which is typically reserved for the mastering stage), and speed set to 15 IPS. The tape type is worth experimenting with depending on the source material, but 15 IPS tends to give a warmer, slightly softer top end which works well for bass.
If you don't have this plugin, don't worry — the concept is what matters. Any tape saturation plugin will do something similar, and Logic Pro's own Tape Delay has a saturation mode worth exploring. The goal is subtle warmth, not a dramatic change.
Step 2 — Slate Virtual Mix Rack (Console Emulation)
Next in the chain is the Slate Digital Virtual Mix Rack, which is a modular plugin that bundles several processing tools into one interface. The first module used here is the Virtual Console, which emulates the sound of running audio through an analog mixing console.
There are a few console models to choose from — the Brit N (modelled after a Neve), the Brit 4K (SSL), and others. For bass, the Neve emulation tends to add a pleasing warmth and body in the low mids that suits groove-based music well. The key thing to watch here is the input level — the harder you drive the input into the red, the more saturation occurs, similar to how an analog console behaves when pushed. You want to be nudging into that territory without overdriving things.
Again, if you don't have this specific plugin, Logic's Channel EQ and any console emulation plugin you have will get you to a similar place. The principle — running the bass through something that adds analogue character — is what matters.
Step 3 — Compression With the FG-Stress (Distressor)
For compression, the FG-Stress from Slate Digital is used — a plugin modelled after the Empirical Labs Distressor, which is a beloved hardware compressor known for adding energy and character alongside its dynamics control. The Fat and Warm preset is a strong starting point for bass.
One thing worth noting about this compressor is that it doesn't have a traditional threshold knob. Instead, you adjust the input level to hit the compressor harder or softer. For this track, the input was dialled back to sit around two to three decibels of gain reduction — enough to even out the dynamics without squashing the life out of the performance.
The goal of compression here is straightforward: bass players, no matter how consistent, will have some variation in note-to-note volume. A few notes played slightly softer, a few played a little harder. Gentle compression smooths that out so the bass feels even and controlled throughout the song without losing the feel of the performance.
If you don't have the FG-Stress, Logic Pro's own compressor is perfectly capable. The Studio VCA model is based on the SSL bus compressor and works well on bass, while the Vintage Opto (modelled after the LA-2A) gives a smoother, more musical compression character.
Step 4 — EQ: Scanning in Logic, Shaping in the Neve and SSL
The EQ approach used here is a two-step process that's worth understanding because it separates the analytical side of EQ from the creative side.
First, Logic Pro's Channel EQ is used to scan frequencies — boosting and cutting different areas to identify what the bass needs. This is a fast, visual way to find problem frequencies and pleasing ones before committing to anything. In this case, a small cut at around 180Hz and a gentle roll-off below 100Hz helped clean up some of the low-end weight without thinning the sound out. Two small boosts in the upper mids — around 772Hz and 1.72kHz — added some definition and presence.
Once those moves are identified in the Logic EQ, the actual adjustments are applied using the Neve and SSL EQ modules inside the Virtual Mix Rack. The reason for this is simple: those plugin EQs have their own sound character that affects how a boost or cut feels. The Logic EQ is neutral and precise, which makes it good for scanning. The Neve and SSL EQs sound more musical when you're actually shaping the tone.
The Revival plugin from the same rack is also used here to add a small amount of shimmer — a subtle high-frequency enhancement that adds a little extra presence without harsh brightness.
Step 5 — Chromaglow for Saturation and Small Speaker Translation
The last step in the bass chain is Logic Pro's Chromaglow plugin, used here for a specific purpose: helping the bass translate on small speakers. This is something worth thinking about for any mix. The bass frequencies that sound full and powerful on studio monitors or headphones often disappear almost entirely when someone plays the track on a phone or laptop speaker, simply because those speakers can't reproduce low frequencies.
Adding harmonic saturation — which is what Chromaglow does — introduces upper harmonics from the bass signal that sit in a frequency range small speakers can actually reproduce. The result is that even on a tiny speaker, the listener perceives the bass as being present because those harmonics are there, even if the fundamental low-end frequency is gone.
The Slightly Warm preset is a good starting point. The mix knob is pulled back significantly so the effect is subtle — the goal is to add harmonics, not to make the bass sound distorted. A drive of around 77% with the mix dialled well back gives you those upper harmonics without the overdrive becoming audible as an effect in its own right.
Blending With the Kick Drum
Once the bass processing chain is in place, the final step is bringing the fader back up and listening to how the bass sits with the kick drum. These two instruments share a lot of the same frequency space, and making sure they're not competing is one of the most important relationships in any mix.
The goal is for both the bass and the kick to be clearly audible — neither one masking the other. If they do start competing, EQ is the first tool to reach for: carving a small notch in the bass to make room for the kick's punch, or vice versa. Side chaining is another option — using the kick to trigger a gentle volume reduction in the bass (or vice versa) so the two instruments naturally duck around each other. For this track the relationship was sitting well without needing either approach.
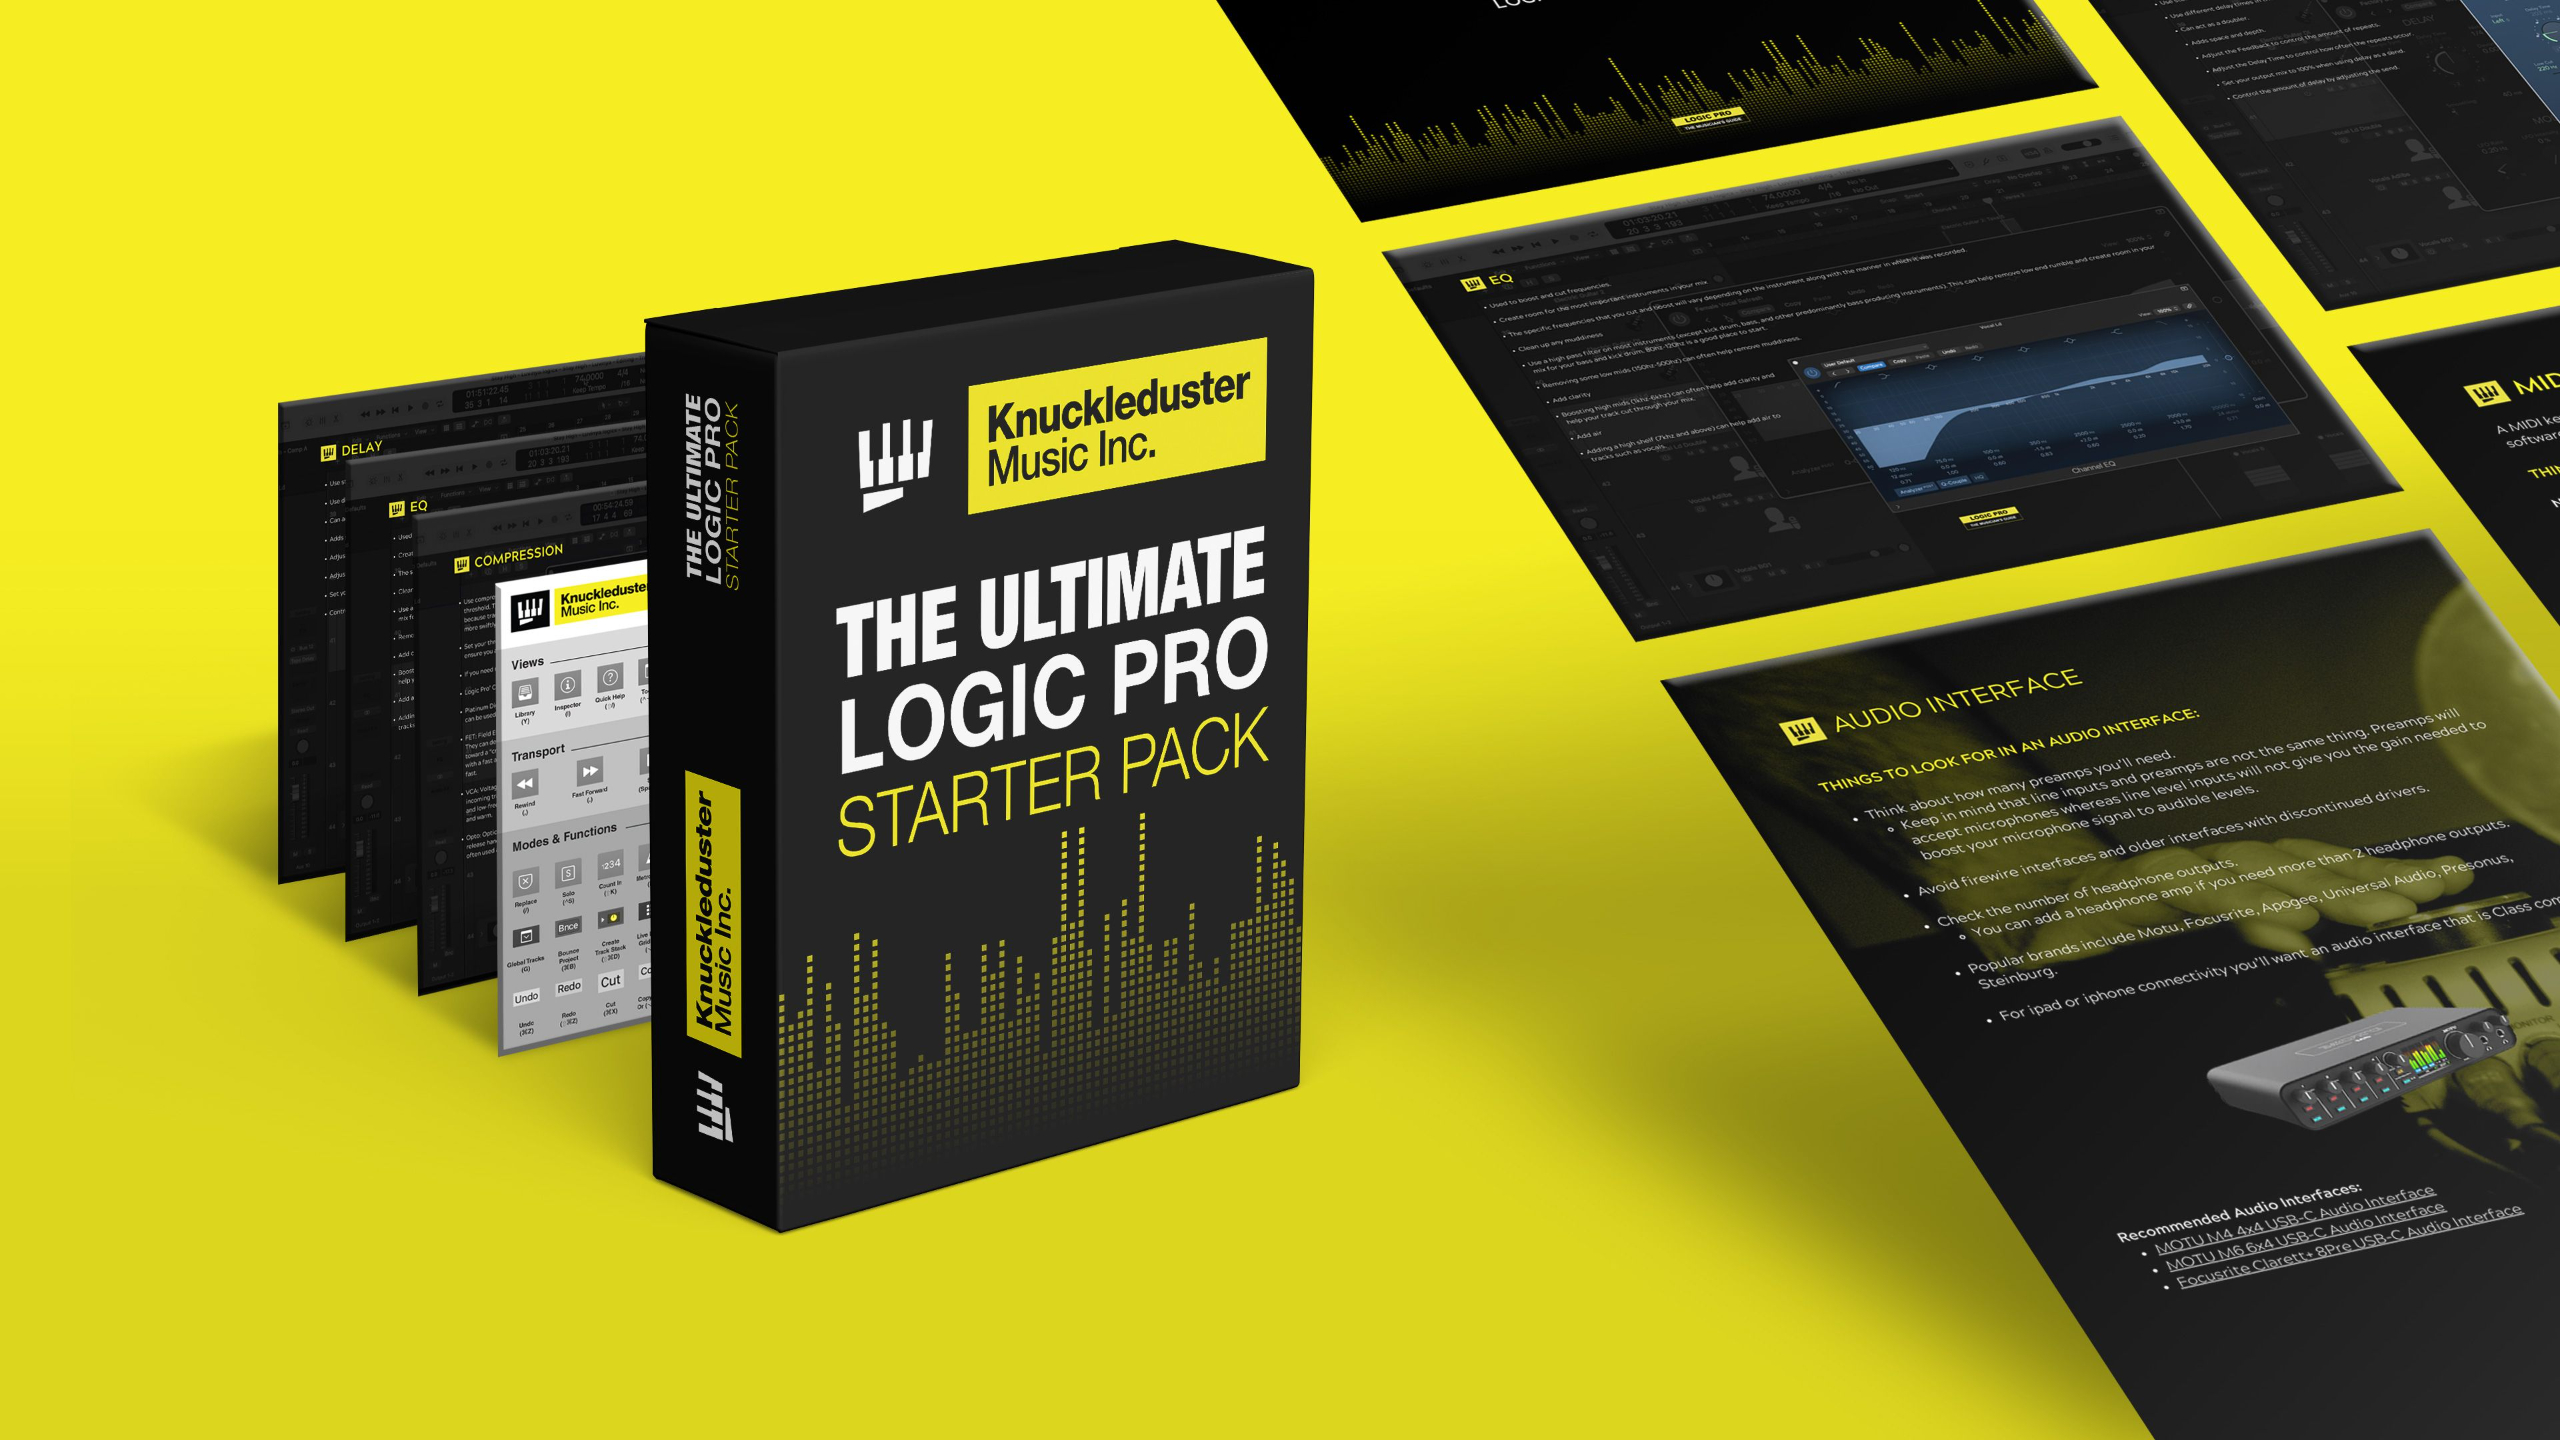
If you have any questions about the bass mixing process or any of the techniques covered here, leave them in the comments below. And if you want to keep building your Logic Pro skills, my free Logic Pro Starter Pack is in the description — it includes a mixing guide, recording checklist, and session templates.
This video features Late Night by Camaro 67
http://www.camaro67music.com/
TIMECODES:
00:00 Introduction
00:33 The Bass Sound We're Starting With
01:21 Exploring Bass Amp Designer
06:20 Step 1: Slate Virtual Tape Machine
07:45 Step 2: Virtual Mix Rack — Console Emulation
09:48 Step 3: Compression With the FG-Stress
13:17 Step 4: EQ — Scanning and Shaping
18:43 Step 5: Chromaglow for Small Speaker Translation
23:20 Blending Bass With the Kick Drum
25:41 Final Thoughts