Live Band Recording in Logic Pro — Editing, Take Folders, and Organization
May 21, 2026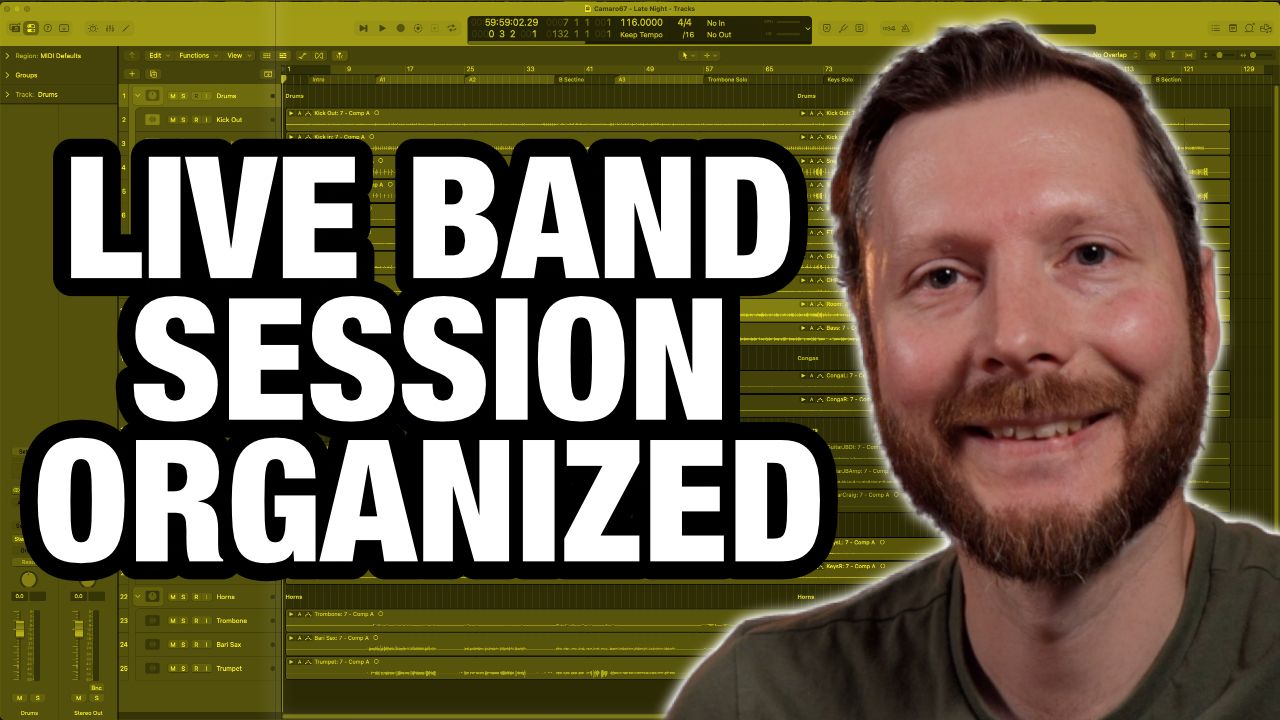
How to Edit a Live Band Recording in Logic Pro
Recording a full band live in one room is one of the most exciting ways to capture music. There's an energy and connection you simply can't replicate by tracking each instrument separately. But it does come with its own set of editing challenges — and in this video, I walk through exactly how I approached cleaning up a real session with my nine-piece band, Camaro 67.
We recorded multiple takes live off the floor, all in the same room, with no isolation booths and most of us without headphones. It was raw and organic, which is exactly what the music called for. But that also meant the session needed some careful organization before anything else could happen. Here's how I worked through it in Logic Pro.
The Session Setup
Before diving into any editing, it helps to understand what we were working with. The session had 20 tracks in total — drums, congas, bass, two guitars, a room mic, keyboards, and three horn tracks. On top of that, we had eight takes of varying lengths, some partial and some full, all recorded at different moments.
As a band, Camaro 67 has always recorded live together to preserve the feel and groove. That connection between musicians in a room is something that gets lost when everyone records separately, and for this style of music it really matters. On our previous two albums we recorded without a click track at all, and we kept that same spirit here. The one difference this time was that our drummer had a click in his headphones — the rest of us were just listening to each other and the sound in the room.
Because we were recording in my home studio without a dedicated isolation booth or enough headphone outputs for nine people, we set things up as if we were rehearsing. I would hit record, and the band would come in whenever it felt right. The result was takes that all started at slightly different points in the session — which meant the first job was getting everything lined up before any real editing could begin.
Step One: Group All Your Tracks
The very first thing to do when editing a multi-track recording like this is group all the tracks together. If you start moving regions without grouping, you'll quickly find that one track is out of sync with everything else. In a single-instrument session that might be manageable, but with 20 tracks it becomes a real problem fast.
To do this in Logic Pro, open the mixer by pressing X, select all your tracks, and assign them all to Group 1. Then go into the group settings and make sure Editing is checked. Once that's done, moving any one region will move all of them together, keeping everything perfectly in sync as you work.
Step Two: Line Up Your Takes
With the tracks grouped, the next job was aligning all eight takes so they sit at the same position in the timeline. This is what makes take folders actually useful — if your takes are all offset from each other, comping between them later becomes very difficult.
The easiest reference point for this kind of alignment is the overhead microphone, since you can clearly hear the drummer counting in before each take. I used the drummer's count-in on each take to line up the downbeat with the same bar across the whole session. To move the individual takes independently within the take folder, you switch from the comp tool to the scissors tool using the small icon in the top left corner of the take folder. That lets you grab and reposition each take without affecting the others.
One thing I would do differently next time: if I had known the drummer had set up a click for himself, I would have sent that click directly from Logic so that every take started from bar one automatically. That would have saved the alignment step entirely. But it's a straightforward fix to do afterwards, and now you know the shortcut for next time.
Step Three: Clean Up and Trim
Once all the takes were lined up, I trimmed back the regions so that everything started cleanly from bar one, removed any dead space at the beginning and end of takes, and made sure transitions between takes were smooth. In this case, one of the takes was just the song's ending, so I aligned it with the outro of the main take and trimmed the join so it played back without any abrupt cuts.
It is worth taking time to listen to any transition points after you trim them. A cut that looks clean on screen can still have a small click or an awkward entrance when you play it back. A short fade in or out at the edit point usually sorts that out.
Step Four: Colour Code and Organize Your Tracks
This step might feel like housekeeping, but it makes a real difference once you get deeper into the editing and mixing process. With 20 tracks on screen, things get hard to read quickly. Taking a few minutes to colour code and organize now saves a lot of time and confusion later.
I grouped the tracks visually by instrument family: all the drum tracks together, followed by the room mic, then bass, congas, guitars, keys, and horns. From there, I selected each group and assigned a colour using Option C, so at a glance you can immediately see which tracks belong together.
The next step was creating track stacks. By selecting a group of related tracks, right-clicking, and choosing Create Track Stack, you can collapse an entire instrument group into a single summing stack. Once that's done, you go from seeing 20 individual tracks to just six stacked groups — drums, bass, congas, guitars, keys, and horns. When you're working on the overall mix balance, you can deal with each group as a whole rather than scrolling through every individual track.
Step Five: Add Arrangement Markers
The last organizational step before moving on to any overdubs or mixing is setting up arrangement markers in the global tracks area. This particular song follows an AAB form, so I labelled the sections accordingly — intro, A1, A2, B section, solos, and so on.
I also colour coded the markers by section, so all the A sections share one colour and all the B sections share another. It might sound like a small detail, but when you're navigating a six-minute live recording across multiple takes, being able to see the song structure at a glance is genuinely useful. It also makes overdub sessions much smoother — any musician coming in to re-record a part can immediately see where they are in the song.
For this recording, we're planning to overdub the horns. Since the horns carry the main melody, we want to make sure those parts are absolutely right, and having the markers in place will make that session much more efficient.
What Comes Next
With the session cleaned up, organized, and clearly mapped out, it's ready for the next stage. In the coming videos, I'll be documenting the horn overdub session, then moving on to mixing and mastering the full track. So if you want to follow the whole process from a raw live recording through to a finished mix, stay tuned for those.
TIMECODES:
00:00 Introduction
01:03 About the Session and Recording Process
06:36 Grouping All Tracks Together
08:19 Aligning the Takes in the Timeline
13:36 Trimming and Cleaning Up Regions
14:40 Colour Coding and Organizing Tracks
16:07 Creating Track Stacks
18:02 Adding Arrangement Markers
21:29 Recap and What's Coming Next