Recording a Full Band Live in Logic Pro
Feb 06, 2026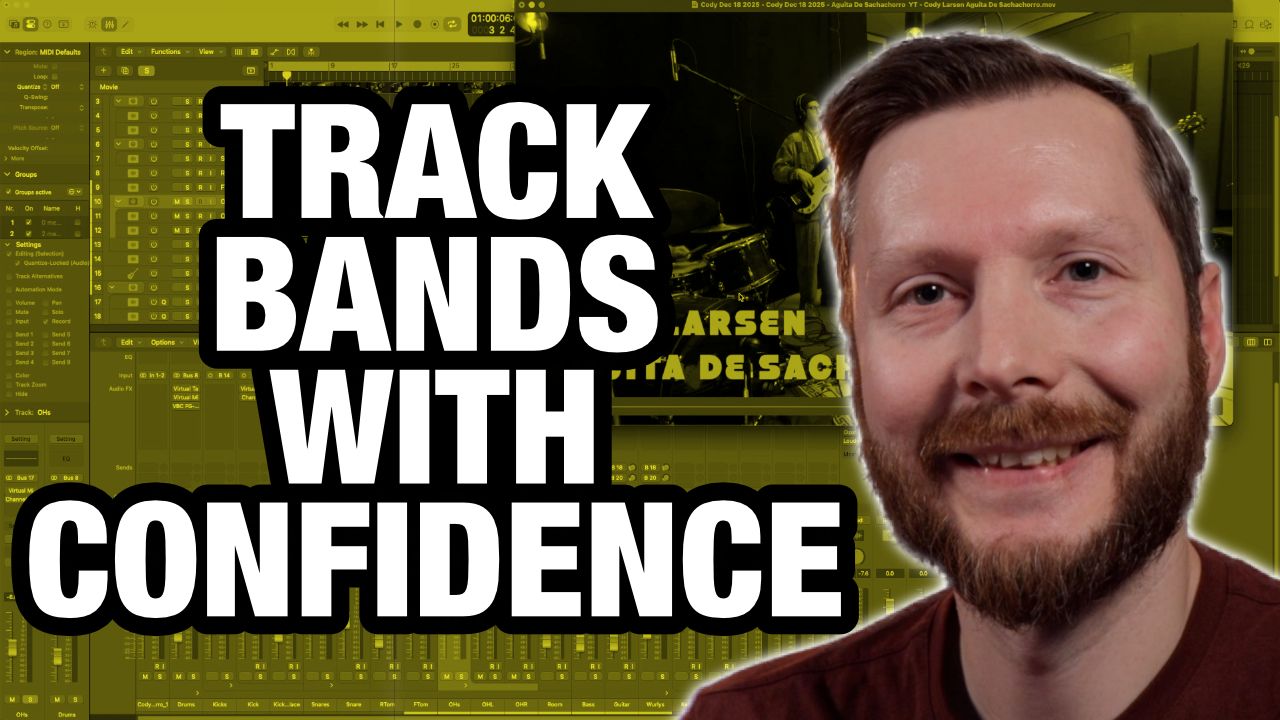
Recording a full band live can feel intimidating, especially if you are used to tracking one instrument at a time in Logic Pro. In this video and accompanying walkthrough, I want to show you exactly how I prepared for and recorded a four piece band playing live in the same room, all inside Logic Pro.
This was a real session, not a staged demo. We tracked drums, bass, guitar, keyboards, and vocals, and we filmed a performance video at the same time. I will walk you through how I planned the session, chose microphones, expanded my interface, and mixed the tracks so everything worked smoothly on recording day.
Understanding the Session Before You Record
Before plugging in a single cable, I like to understand what I am actually recording. In this case, we had a four piece band consisting of drums, bass, guitar, and keyboards. One song included vocals and one did not.
This step is important because it determines how many inputs you need, how much gear you will use, and how complex your setup will be. I always recommend starting here instead of opening Logic Pro right away.
I like to use a simple spreadsheet, but pen and paper works just as well. The goal is to map out every instrument and decide how many microphones or direct inputs each one needs.
Planning Your Inputs and Channel Count
For this session, I had access to 16 inputs. That number guided every decision that followed.
Drums were the biggest consideration, as they typically require the most channels. I chose to use six microphones for the kit. A Shure Beta 52A on the kick, SM57s on snare, rack tom, and floor tom, and a pair of Rode NT5 condenser microphones as overheads.
The overheads capture the cymbals and the overall kit, while the dynamic microphones help isolate each drum and reduce bleed. This combination gives you flexibility at mix time.
If you are short on inputs, drums are usually the place to scale back. You can remove the tom microphones and let the overheads pick them up. You can even use a single overhead, or in extreme cases, one microphone for the entire kit. A kick and overhead is often a solid minimum.
Using a Room Microphone for Energy
In addition to the close drum mics, I also used a room microphone. This was a Rode NT2A positioned to capture the loudest sound in the room, which was the drum kit.
I use the room mic sparingly in the mix, but it adds energy and excitement when blended in. Later, I will show how heavy compression on the room mic helps the drums feel more alive.
Direct Inputs for Bass and Keys
The bass was recorded directly into a preamp with no amplifier. This keeps the signal clean and simple. A little EQ and compression later was all it needed.
The keyboard was recorded in stereo using direct inputs into the audio interface. This avoids bleed entirely and gives you a very clean signal to work with.
Guitar and Vocal Microphone Choices
The guitar amp was recorded using a Shure SM57 placed near the center of the speaker cone, about one inch off the grille. This is a classic placement that works in many situations.
For vocals on the second song, I used a Shure SM7B. This microphone works well in less than ideal rooms and helps control bleed when recording live.
Keeping Your Input Order Consistent
One small habit that makes a big difference is keeping your input order consistent. I always group drums first, followed by bass, guitar, keys, and vocals.
This makes patching faster, reduces mistakes, and helps you stay organized in Logic Pro. When inputs stay consistent from session to session, troubleshooting becomes much easier.
Using External Preamps Strategically
I also used several external preamps for this session. I chose to use them on sources that mattered most to me sonically, such as drum overheads, bass, guitar, and vocals.
Other sources went directly into the interface preamps, which still sound great. This kind of decision making helps you get the most out of limited high end gear.
Expanding Your Interface with ADAT
The main interface was a MOTU 896 MK3. To reach 16 inputs, I expanded it using an older MOTU 8pre connected via ADAT.
Even though the 8pre is a FireWire interface that no longer works directly with modern computers, its preamps are still usable through ADAT. This is a great way to reuse older gear and expand your system affordably.
Headphone Monitoring for a Full Band
When recording multiple musicians, headphone monitoring becomes critical. Most interfaces only offer one or two headphone outputs.
I used a Presonus HP4 headphone amplifier, which allows up to four sets of headphones to share the same mix. While everyone hears the same balance, it is a simple and effective solution for live band tracking.
Tracking Live in Logic Pro
The band played together live to a click track. This keeps the performance tight while preserving the energy of a real band performance.
I monitored levels carefully and avoided heavy processing during tracking. The focus was capturing clean, usable sounds.
Mixing Highlights and Creative Choices
On the kick drum, I blended the live mic with a sample using Slate Trigger. This added weight while keeping the natural sound intact.
The room mic was heavily compressed with a high ratio. On its own it sounds aggressive, but blended in subtly it adds excitement to the drums.
Guitar and keys received light EQ, compression, and effects like stereo delay and reverb. These were kept tasteful and supportive.
Final Bus Processing and Mastering
On the master bus, I used a virtual mix bus, Fresh Air for high end clarity, and the Gullfoss plugin for final polish. A small amount of compression helped glue the mix together.
To finish, I used tape emulation, Ozone for limiting, and Logic’s loudness meter to confirm final levels.
This approach keeps the mix musical and controlled without overprocessing.
If you want to see this entire process in action, watch the video above and check out the finished performance by the Cody Larson Band.
Microphones Used:
Shure Sm7b: sweetwater.sjv.io/jRnPgb
Shure Sm57: sweetwater.sjv.io/KBOO5a
Shure Beta 52A: sweetwater.sjv.io/JkOONQ
Rode NT2A: sweetwater.sjv.io/QYNBL9
Rode NT5: sweetwater.sjv.io/GbOO9E
TIMECODES:
00:00 Intro
00:50 Session Overview
01:53 Planning Inputs and Mic Selection
08:04 Audio Interface and ADAT Expansion
09:27 Headphone Monitoring
10:40 Recording and Mixing Drums
14:49 Room Mic
16:52 Mixing Bass, Guitar, and Keys
19:16 Master Bus FX Chain
21:12 Final Thoughts