The Best Mac Mini Upgrade for Your Studio: Acasis M4 Workstation Review
Nov 06, 2025
The Best Mac Mini Upgrade for Your Studio: Acasis M4 Workstation Review
If you're running a Mac Mini for Logic Pro, you’ve probably hit a few familiar roadblocks — running out of internal storage, not having enough USB-A ports, and ending up with a tangle of adapters just to plug everything in. That was exactly my situation after upgrading to the M4 Mac Mini. So, I started searching for a cleaner, more powerful setup — and that’s when I came across the Acasis M4 Workstation Dock. In this post, I’ll walk you through what it is, how it performs, and why it might be the perfect upgrade for your home studio.
Unboxing and First Impressions
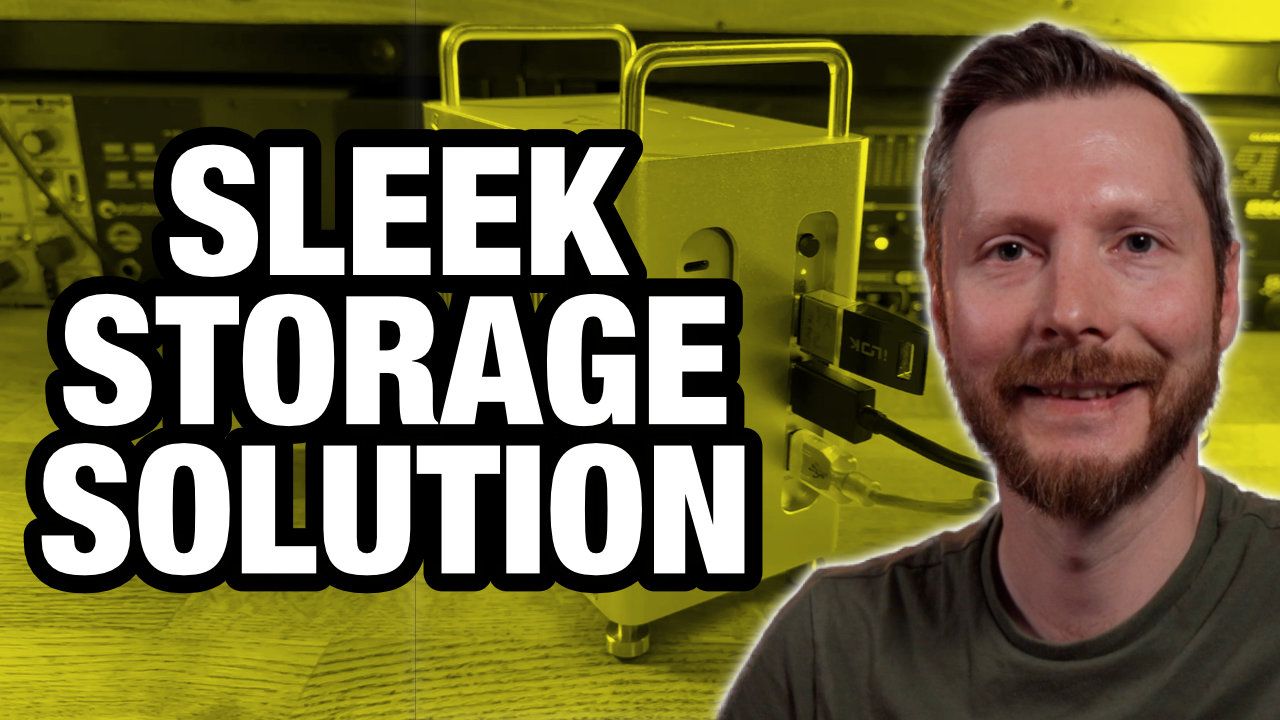
The Acasis M4 Workstation makes a strong first impression. Right out of the box, it feels solid and well built — full aluminum construction, with no flex or flimsy parts. Inside, you’ll find the dock itself, a Thunderbolt cable, a power cable, a screwdriver for installation, and a few heat pads for the SSDs. It’s clear that Acasis designed this with both functionality and aesthetics in mind. Once you hold it, you can tell it’s built to match the same clean, industrial design as the Mac Mini itself.
Ports and Features Overview
On the front, you get three USB-A ports — which for me, was a huge upgrade. My MIDI keyboard, audio interface, and typing keyboard all use USB-A, so having those right on the front of the dock simplifies my setup. You also get full-sized and micro SD card readers, which are especially handy for anyone doing video or photo work.
On the back, you’ll find two additional display ports for multi-monitor setups, a Thunderbolt connection for linking the dock to your Mac Mini, and a power input for the included adapter. Altogether, this setup gives you the flexibility to connect all your studio peripherals without the mess of extra hubs or cables.
Installing the Mac Mini and SSD Drives
Installing the Mac Mini into the Acasis dock is straightforward. You remove the four screws at the bottom, slide in your Mac Mini, and align the power button on the dock with the one on your Mac. Everything fits snugly with soft padding around the edges — no scratching or forcing things into place.
The dock supports two M.2 SSD drives, up to 8TB each, giving you a total potential of 16TB of fast external storage. Installing an SSD is just as simple: remove the bottom plate, slot in your drive, secure it with the included pin, and add the provided thermal pad for heat management. In my case, I installed a Samsung 990 EVO Plus 4TB drive to house all my audio libraries.
Cleaning Up the Studio Setup
One of the most satisfying parts of this upgrade was how much cleaner my setup became. Before the Acasis, I was using a hub hanging off the side of my desk, with cables running every direction. Now, everything connects directly to the dock, and my Mac Mini sits neatly inside. It’s one of those upgrades that not only boosts performance but also makes your workspace feel more professional.
Wi-Fi and Power Considerations
Some users have reported that certain Mac Mini docks interfere with Wi-Fi performance, but in my testing, that wasn’t an issue. I ran several speed tests before and after installing the Mac Mini into the Acasis dock, and I didn’t see any meaningful drop in performance.
As for power, the dock can run directly from your Mac Mini through Thunderbolt, but I’d recommend using the included power supply — especially if you’re running multiple USB devices or external drives. It just ensures stable performance without power dropouts.
Drive Speed and Performance Tests
For the speed test, I used the Blackmagic Disk Speed Test app. With a single Samsung 990 EVO Plus installed, I was getting read speeds around 1,400 MB/s and similar write speeds. Those numbers are excellent for sample libraries, sessions, and even 4K video files.
To compare, the Mac Mini’s internal SSD is faster, but for most home studio tasks, 1,400 MB/s is more than enough. In fact, it’s significantly faster than popular portable drives like the Samsung T7, which caps out at about 1,000 MB/s. So, if you’re storing instruments like Kontakt libraries or Logic’s sound packs externally, you’ll have no issues with load times or playback.
RAID Options for Advanced Users
If you’re looking for even more speed or redundancy, the Acasis dock supports RAID configurations through macOS Disk Utility. With two drives installed, you can set them up in RAID 0 for faster performance — combining both drives to act as one and nearly doubling your read/write speeds to around 2,800 MB/s.
Alternatively, RAID 1 gives you data mirroring, where both drives hold identical copies of your files for extra security. RAID 0 is great for speed; RAID 1 is ideal for peace of mind. Either way, it’s impressive to see this kind of flexibility in a compact dock like this.
Real-World Studio Workflow
In my studio, I’ve set up the Acasis M4 dock to store all my sample libraries externally, while keeping my Logic projects and macOS system on the internal drive. This split setup gives me a total of 6TB of fast, accessible storage, and it’s made a noticeable difference in how smoothly sessions run.
The added ports mean I’m not constantly swapping cables or reaching for adapters. Everything feels integrated — and quiet, too. The Acasis dock runs silently, making it perfect for recording in the same room as your computer.
Final Thoughts: The Perfect Mac Mini Companion
For home studio producers using a Mac Mini, the Acasis M4 Workstation Dock feels like the missing piece. It expands your connectivity, adds serious storage, and helps keep your workspace tidy — all while maintaining the Mac Mini’s compact, minimal footprint.
If you’ve been struggling with limited ports or running out of space for your sample libraries, this dock offers a simple, reliable solution. Once you’ve set it up, it’s one of those upgrades that quietly improves your daily workflow in every way.
TIMECODES:
00:00 Intro
01:08 Why I Needed a Dock
02:41 Unboxing the Acasis M4
03:50 Ports and Features
06:16 Installing the Mac Mini
07:15 Installing the SSD Drive
08:18 Cleaning Up the Setup
10:17 Wi-Fi Test
11:21 Storage Considerations
14:19 Drive Speed Test
15:48 RAID Setup Explained
17:39 Studio Setup Costs
19:35 Final Thoughts


